
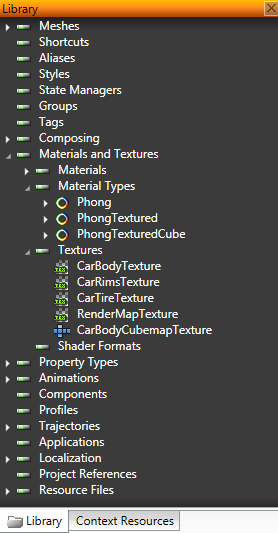
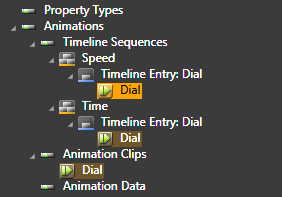
In Kanzi Studio project content is organized into directories and tree hierarchies you can see in the Project and Library:
Kanzi objects and resources present the content in your Kanzi application. To create a Kanzi object or resource, in the Project or Library right-click where you want to create the item, select Create and then the item you want to create.
To import content you created with another tool, such as 3D content, images, fonts, or trajectories, select , and then the type of content you want to import. When importing is completed, you can find your imported content in the Library > Resource Files. Kanzi Studio places imported 3D content in a new scene in your project. See Importing.
To move and reorganize objects, drag and drop them to a new location. If you hold down the Ctrl key, Kanzi Studio copies the selected item.
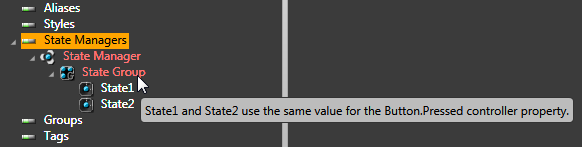
Kanzi Studio marks objects and resources:
To show only certain content in the Project, use the preset filters and text filtering. The Project shows the intersection of the preset filters and text filtering.
When you select one or more filters, Project shows the union of the included items. For example, the selection of filters in the Project shown in the image displays Mesh and Empty Node objects that contain string back in the name.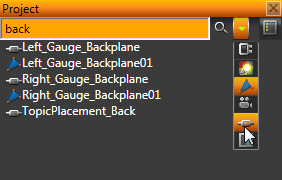
| Filter | Description |
|---|---|
 | Show control objects. |
 | Show Light objects. |
 | Show Mesh and Mesh Data objects. |
 | Show Camera objects. |
| Show Empty Node objects. | |
 | Show items that differ in the active profile. It intersects the result set of other filters showing only profiled items. |